Install and Run an Agent
The Agent is a core component of the platform and enables cross-network communication between Source Systems and Virtual Data Platform. The following guides you quickly through the required steps to install and run an instance of an Agent. For a quick and proof-of-concept (PoC) like start, we recommend installing the agent as a Windows service on a local PC. For more conceptional details about the Agent please refer to the Agent section. For a more practical guide about how to install, run and update Agents, please refer to the section in the Portal where all of these tasks can be done.
Create a Location
Before being able to install an Agent it is required to define at least one Location. In order to create a new Location, open the Portal and navigate to the menu 'Locations & Agents' and click on 'Create a new Location'. A window pops up where you can configure the location as follows:
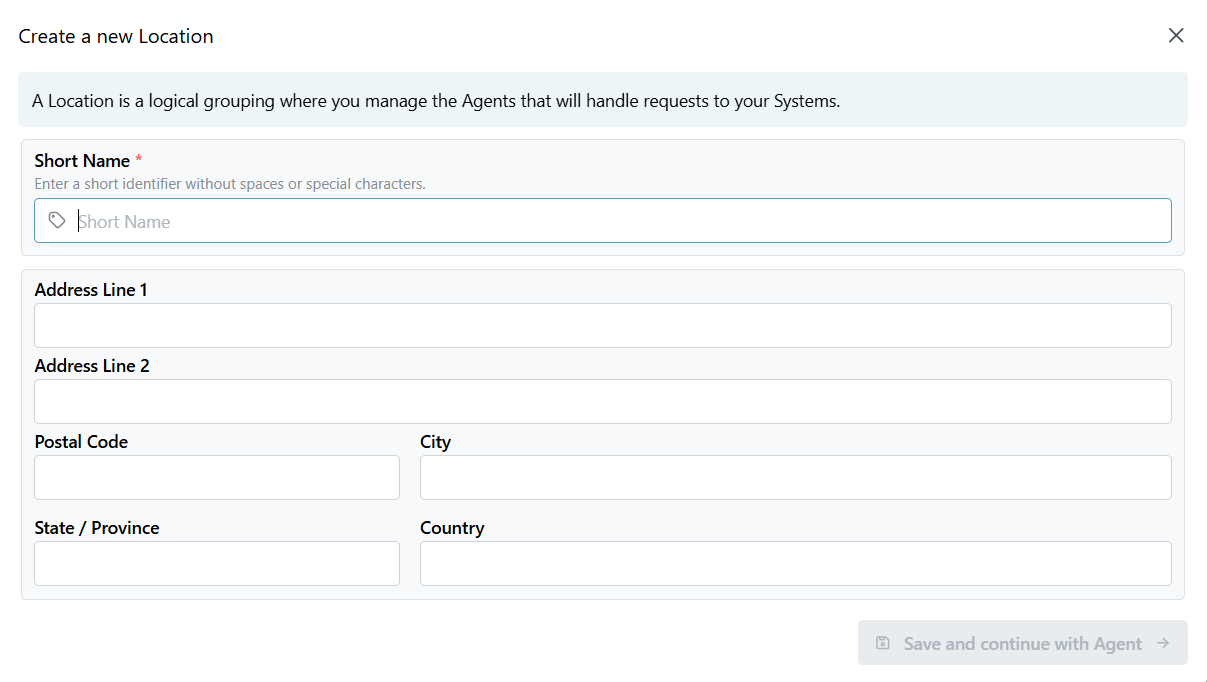
Please give your location a descriptive name and, if needed, include any additional address details. You can proceed to the next step to create Agents for this location by selecting 'Save and continue with Agent'.
Initiate an Agent
Similar to the Location, a new Agent is created by defining it via a descriptive 'Short Name'.
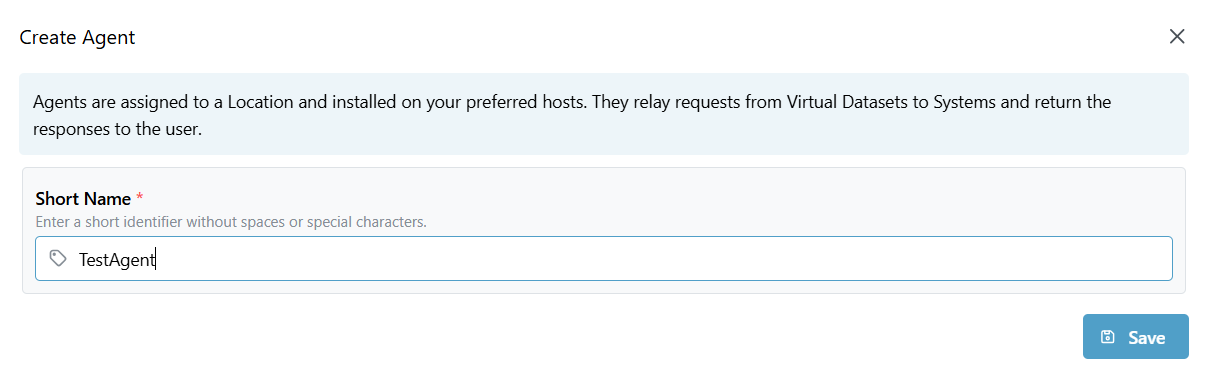
Clicking on 'Save' creates a new Agent configuration. In addition to the newly created Agent, you can add more Agent instances by clicking the '+' button. This may be useful for scaling Agent performance.
Install and Run an Agent
So far, only a configuration for an Agent has been created. To actually run an instance of it, it must be installed and executed.
Authentication and data encryption for communication with VDP are based on a certificate. Before running an Agent, make sure that this certificate is installed correctly. It can be downloaded by clicking on 'Certificate' and then 'Download Certificate'.
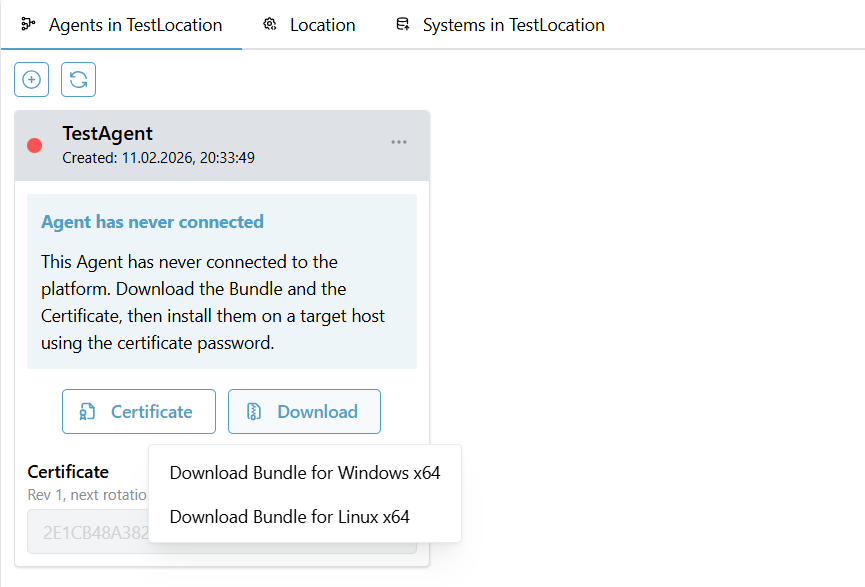
The certificate's password is required when adding the certificate to the systems certificate store. The password can be found directly below the download button by 'Copy Certificate password'. In addition, please make sure, that the user which is used to run the agent has read permissions for the private key of the certificate. For more details directly refer to the section install certificates.
After installing the certificate, now finally the Agents binary can be executed. To get that done, download the appropriate Agent's binary in the window 'Download' depending on your operational system. The binary has to be executed on a system which has access to the network where the required source systems are located. As already mentioned, for an initial POC, we recommend to just download the Windows Agent and run it on your local PC.
The agent comes within a zipped bundle, which can be extracted. The following command starts the Agent as a Windows-Service by running the binary file. Make sure that you are in the folder where the Agent and the Powershell script are located when executing it via:
./InstallVDPWindowsService.ps1
Please note that this script must be executed from an admin PowerShell, and the PS-Exec policy must be set to 'Unrestricted' beforehand. For more details directly refer to the section install certificates.
To use a PowerShell session with 'Unrestricted' PS-Exec policy, you can use option -ExceutionPolicy when starting PowerShell. The setting will then only affect the current session:
powershell -ExecutionPolicy Unrestricted
The Agent checks for new updates of Query Handlers and updates them automatically. So, when you execute it for the first time, it will take some seconds until all handlers are downloaded and up to date.
Now you can start to configure your first Function to load data from a Source System. In order to retrieve data via Virtual Data Platform the Agent should always be running.