Create and Use a Model
In the following, we describe the first steps in order to create and configure a Model for virtually transforming the data of the GDP function we have created in the previous chapters of this section.
Create Model
At first, select a or create a Category. In this case we use the Category 'WEB' we created for the Function. Therefore, go to the menu 'Virtual Datasets' and you will find the category 'WEB'. Click on the plus sign and on 'New Model'.
A new window pops up where you can specify the model as follows:

Click on Create and launch the Modeler to specify your Model by selecting 'Open in Modeler'.
You can open existing Models by directly opening the Modeler via the account menu at the top right.
Specify Model
In the Modeler select 'Dataset' and add a 'Platform Request' querying the Function 'GDP' which we have created in the previous steps.
The preview at the bottom shows the preview of the respective node in the Modeler.
We will now transform the data by adding a simple transformation step.
- Select 'Data Operator' and then 'Transformation'.
- Connect the node of the 'Platform Request' with the node of the 'Transformation' by selecting the outwards arrow of the former and the inwards arrow of the latter.
- Click on the 'Transformation' node and select 'Type Transformation' and transform the column 'VALUE':
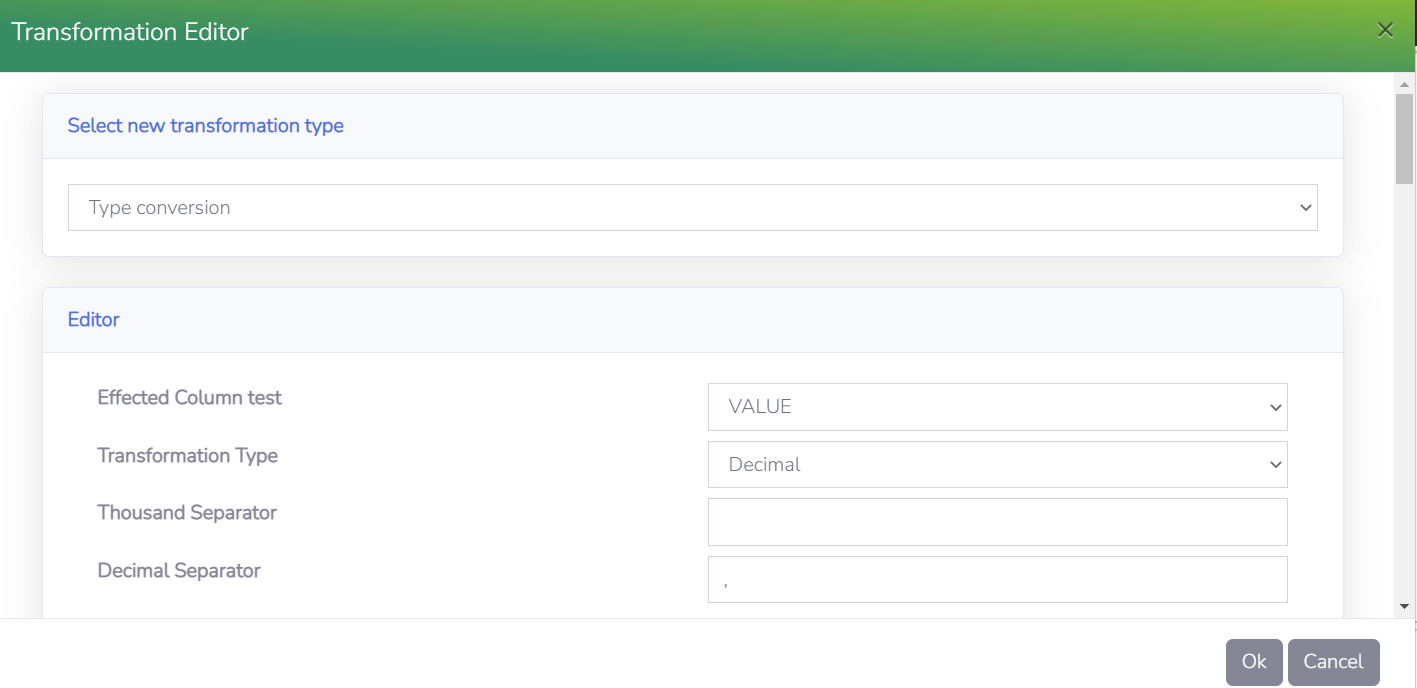
- Click on 'Add' and check the result of your transformation with the preview below.
For further information about all available 'Dataset' and 'Data Operator' options please see Datasets and Data Operators in the 'Modeler' section.
- Lastly, connect the 'Transformation' node with the 'Result' node.
You can also change the layout of the Modeler in the settings at the top right.
Your final Model looks like this:

The nodes of a Model contain some specific meta information like processing time or row count.
Click on save and run the Virtual Data Model in your desired application.
Make sure the Model is enabled in the initial Model configuration.