Connect to a SQL Table
The following chapter provides information about how a SQL table can be connected.
The example of the previous defined System with the relational database 'fruits_db' is applied. As an example, the table 'fruits' is used. It is also possible to connect to views. Therefore, we have to create a new Function under a Category of your choice. In this example it is assumed that a Category 'CAT1' is created before.
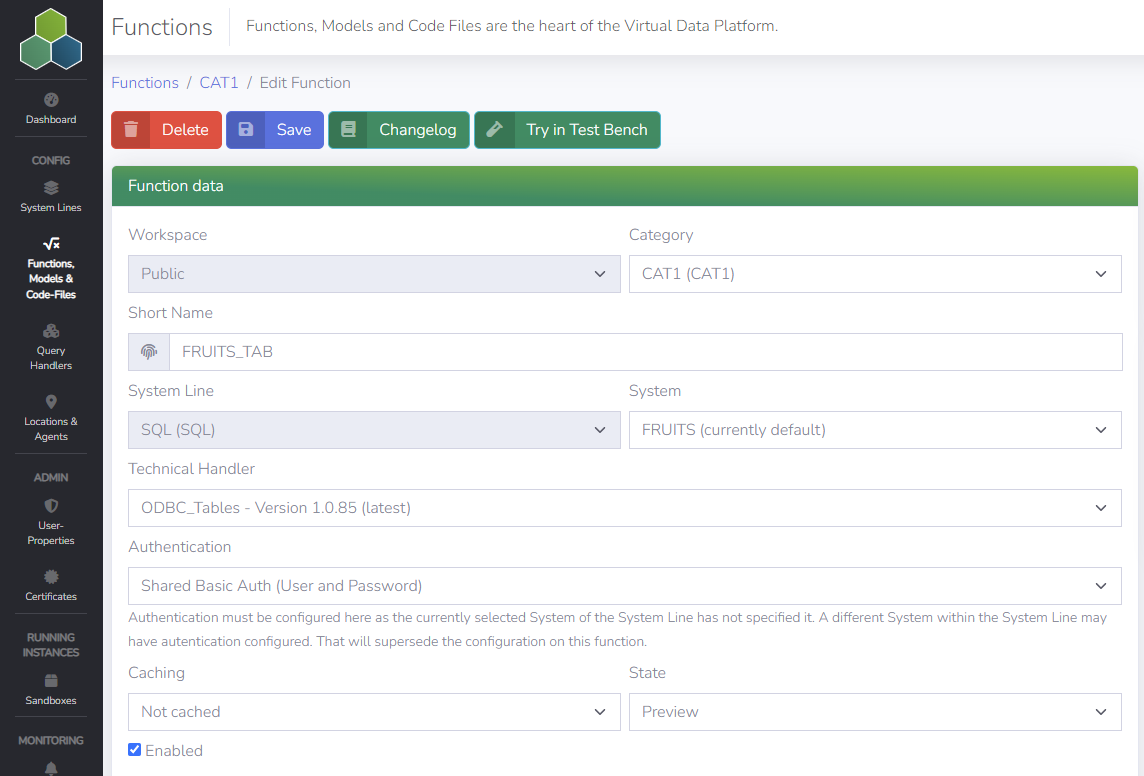
When clicking on 'New Function' in the Portal, the following window appears for entering the data for the Function:

Function data
The Technical Handler which is able to connect to a Table in a relational database is the following: ODBC_Tables - vx.x.x (latest) (to be selected in the Function data section of the Function configuration). The other variables and information like the Short Name and the System have to be specified. Here we can use the 'Fruits' System as defined before. Please find the general details in the Portal's create a new Function section, also for how to create a Function. Beside the Function data, the following types of information have to be specified as follows.
Authentication Configuration
In case the 'Shared Basic Auth (User and Password)' is configured by the Admin at System level, nothing has to be specified. Otherwise enter the 'User' and a 'Password' which should be specifically applied for this Function.
Technical parameters
The following technical parameters have to be provided to connect to a table or a view:
-
COLUMNS: '
*', in case you want to select all columns. To select specific columns, separate them by semicolon. This column supports aggregation functionality, just addcolumn_A;column_B;sum(column_C)to aggregate overcolumn_C. -
SCHEMA: 'dbo', the name of the schema the table or view is located in.
-
TABLE: 'fruits', the name of the table or view to query.
User parameters
All types of Parameters are available and can be applied, if the relational database supports it.
After saving the settings (including enabling the function), you can open the 'Test Bench' via the button 'Try in Test Bench' and execute the Query. After a second the data should appear below in a table.